
So, I’m looking over my post log, and I see that I started this post in May. And not even the end of May – the very beginning of May. I had every intention of posting this over 2 months ago – recipes finished, pictures edited, deliciousness consumed… I know you’re not mad, but it bums me out a little that I don’t have as much time for this as I’d like. There are a number of things that statement rings true about right now – I’d like to exercise more, clean more, shower more, and so on and so forth. I have to admit that the tradeoff isn’t bad. I wouldn’t trade these moments for the world.
My goal has been to get at least one post done a month. Looks like I might need to step it up. But I digress…
I’ll Have S’more(s) Please!! Silly title, but really it’s best to always ask politely for what you want. And I really wanted s’mores – so much so in fact that I was willing to make the marshmallows and graham crackers to prove it!
Summer is in full swing, and for our family that means nights around a bonfire as often as possible! A few years ago I attempted what I thought was the impossible – I made marshmallows!! It is definitely not impossible, and it is quite delicious. Found this recipe over at Smitten Kitchen, and I’ve never looked back. There’s something so wonderful about their soft, squishy, melt in your mouthy taste of these marshmallows that you’ll never want to eat the store bought ones again. And if you’re going to make your own marshmallows you might as well go for broke and take a chance on homemade graham crackers as well – but that recipe will have to wait for another post ;)
Springy, Fluffy Marshmallows
About 1 cup confectioners’ sugar
3 1/2 envelopes (2 tablespoons plus 2 1/2 teaspoons) unflavored gelatin
1 cup cold water, divided
2 cups granulated sugar
1/2 cup light corn syrup
1/4 teaspoon salt
2 large egg whites
1 tablespoon vanilla (alternately: 1/2 of a scraped vanilla bean, 2 teaspoons almond or mint extract or maybe even some food coloring for tinting)
Oil a 9×13 rectangular, metal baking pan before you dust the bottom and sides with some powdered sugar. I absolutely suggest this type of pan – it just makes for more shapely marshmallows.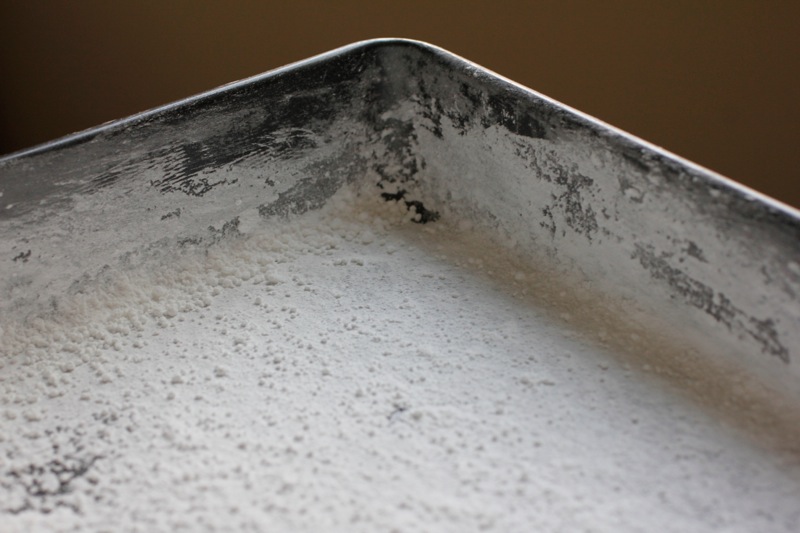
In bowl of your stand mixer or in a large bowl sprinkle gelatin over 1/2 cup cold cold water, and let it bloom for 5-10 minutes. You can just leave it to do its thing while you’re working on the sugar syrup.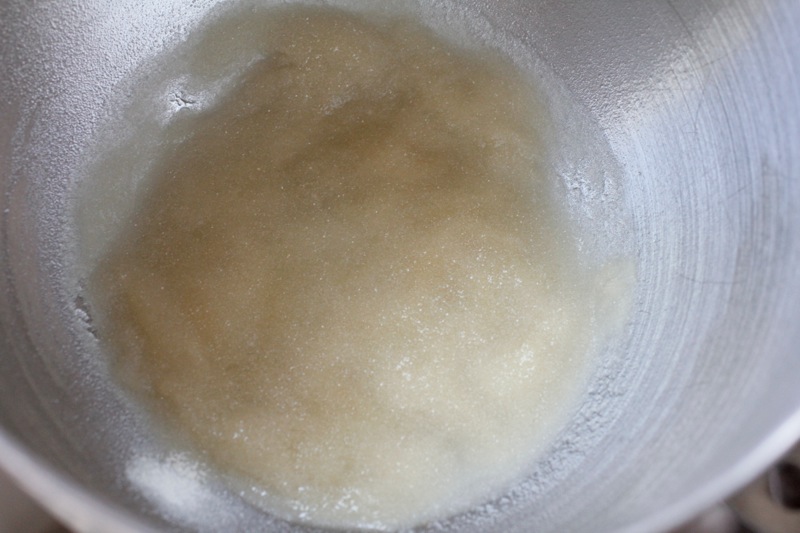
It will eventually look like this: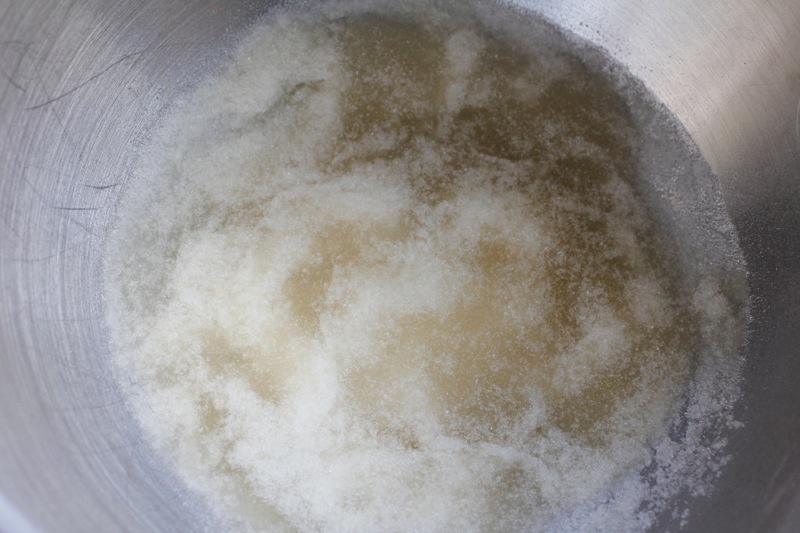
But while you’re waiting for it to get there start cooking your sugar syrup. In a medium sized heavy saucepan cook your granulated sugar, corn syrup, 1/2 cup of cold water, and salt over low heat stirring with a wooden spoon until sugar is dissolved. Increase heat to medium and boil without stirring until a candy or digital thermometer registers 240°F. You can occasionally swirl, but NO STIRRING – you wouldn’t want any sugar crystals to form and ruin you silky smooth marshmallows. Remove the saucepan from the heat and pour your sugar syrup over the bloomed gelatin, stirring until gelatin is dissolved.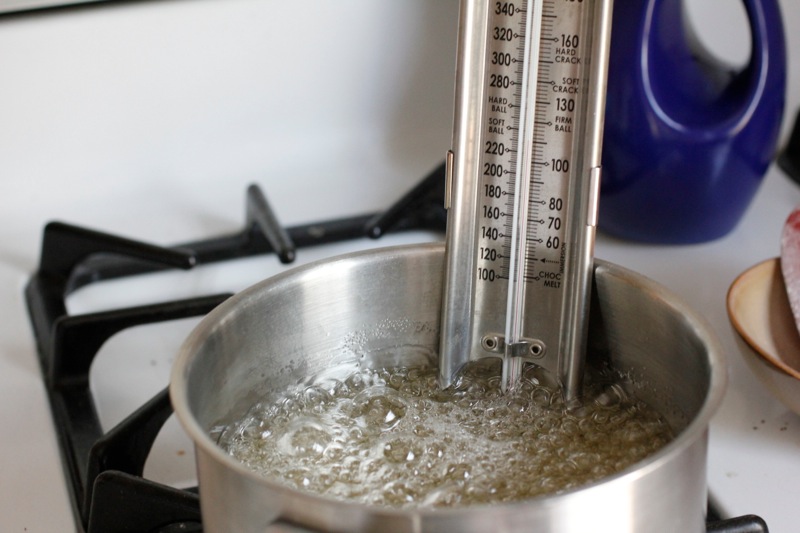
This is where a stand mixer is going to be really handy. You can accomplish the rest of this recipe without one, but it will take quite a bit of time and your arm might get tired ;) Crank your mixer to high and let it whip up until you’ve got white, thick, stiff peaks and your mixture has just about tripled in volume (about 6 minutes – longer if you’re using a hand-held mixer).
In a separate bowl whip your egg whites until they just hold stiff peaks – a hand-held mixer is perfect for this task :)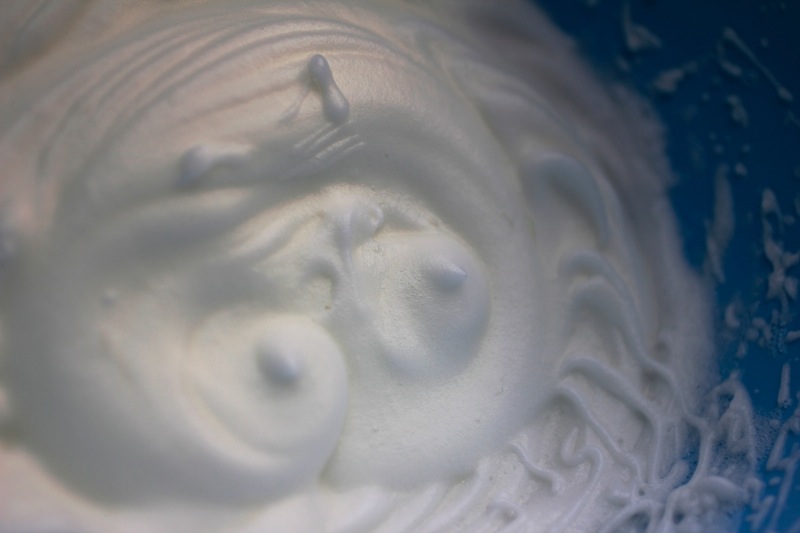
Beat egg whites and vanilla (or whatever flavoring you decided on) into sugar mixture until just combined.
Pour mixture into baking pan and don’t fret if you don’t get it all out. It’s really messy…really messy. If you try and get it out you’ll literally have a huge mess on your hands.
Sift 1/4 cup confectioners sugar over the top of your pan of ooey-gooey deliciousness. Refrigerate your marshmallows, uncovered, until completely firm – at least three hours, and up to one day (if you can wait that long!!!).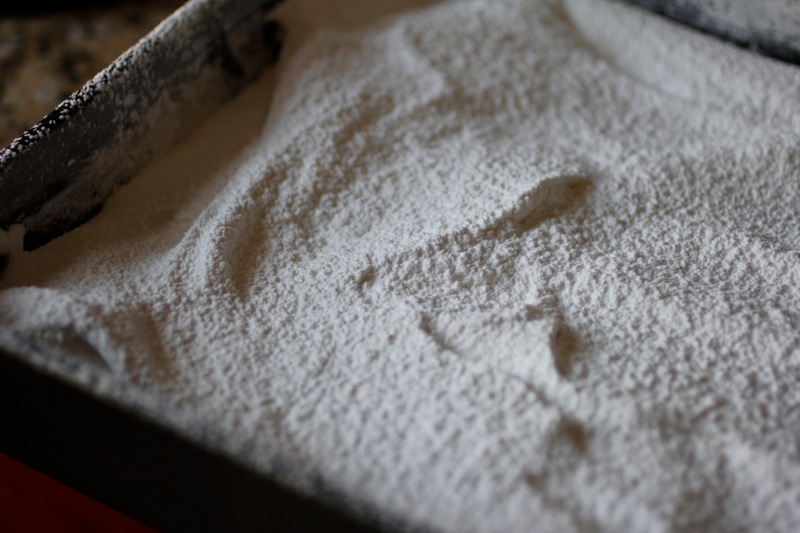
The best way to get these out of the pan is to run a knife around the edges of the pan, gently lifting up the corners, and then inverting the whole amazing slab of marshmallows onto a cutting board. After you’ve got them out you can cut them up with a really sharp knife, and coat them in the remaining powdered sugar.
We decided that these couldn’t just be any old s’mores, but these were destined to be phenomenal s’mores with homemade marshmallows that deserved the most special chocolates. 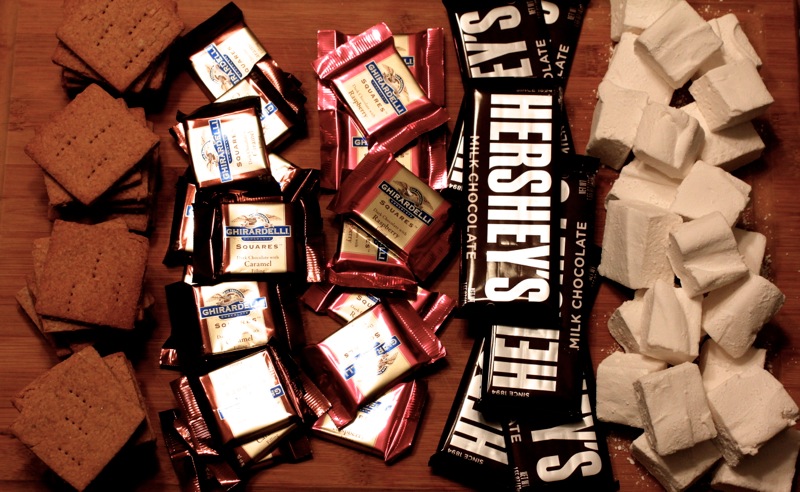
Ta-dah! I tried to get a picture of an actual, assembled s’more – but we ate them too quickly. Sorry, you’ll just have to take my word for it – they were DELICIOUS!
